Initiating The Payment
An invoice is a document you send to your client after purchasing goods or services from you, both as a means of recording the sale and requesting payment from them. You can catch everything you need about PayTabs invoices in our solutions article: What is PayTabs Invoice?
Invoices Payment Page integration type is suitable for merchants with PCI SAQ A or merchants does not have any PCI levels as it follows Hosted Payment page mechanism. To customize the UI of the Invoices payment page, check this article, and to know more about the Invoices Payment Page PCI DSS merchant requirements, please check this article.The Available Endpoints to Initiate an Invoice
In this manual, we'll guide you through initiating a payment request using this integration type. You'll learn about the necessary parameters required for the request and all the optional parameters available. You can choose to initiate the payment in one of two ways: via Payment or via Invoices. We strongly recommend reviewing theInvoices | Payment Workflowmanual first to understand the business logic behind this integration.
As mentioned above, there are two ways you can use in the endpoints for initiating the invoice as clarified below:
Each endpoint has a different flow and support different kind of parameters, you can choose one that suits your business needs best. In the upcoming section we will walk you through these 2 endpoints in detail.
Initiating an Invoice via Invoice Endpoint
Initiating an Invoice via Invoice Endpoint
Here, we will walk you through the steps to initiate an invoice using the Invoice Endpoint. This dedicated interface simplifies the process of invoice creation and management, handling all aspects from generating new invoices to tracking payments and managing customer data. In this manual, we will provide a step-by-step guide to help you streamline your invoicing procedures and improve financial accuracy.
The Endpoint and Related Postman Collection
In this section, we will rely on the PayTabs Invoice Payment Page API Endpoint, mentioned on PayTabs API endpoints postman collection, which you can access from PayTabs Postman APIs Collection. The endpoint will need to be accessed with a POST request on the below-mentioned URL
| POST | {{domain}}/payment/invoice/new |
|---|
Please note that not using the proper endpoint URL {domain} will lead to authentication issues within your responses. To find the your proper domain you can read ourWhat is my (Region)/(endpoint URL)?tutorial article.
- KSA
- UAE
- Egypt
- Oman
- Jordan
- Kuwait
- Iraq
- Morocco
- Qatar
- Global
https://secure.paytabs.sa/payment/invoice/new
https://secure.paytabs.com/payment/invoice/new
https://secure-egypt.paytabs.com/payment/invoice/new
https://secure-oman.paytabs.com/payment/invoice/new
https://secure-jordan.paytabs.com/payment/invoice/new
https://secure-kuwait.paytabs.com/payment/invoice/new
https://secure-iraq.paytabs.com/payment/invoice/new
https://secure-morocco.paytabs.com/payment/invoice/new
https://secure-doha.paytabs.com/payment/invoice/new
https://secure-global.paytabs.com/payment/invoice/new
Request Parameters
- The Minimum Required Parameters
- The Available Optional Parameters
To initiate a payment request using this integration type, there are minimum required parameters that need to be passed with valid information. The specification of these required parameters is clarified below:
No parameters found for manualinvoices with filter required.Besides the above-mentioned required parameters, PayTabs provides you with several optional parameters, each of which empowers you with a different feature and the ability to customize your invoice payment request as much as possible it could be. The specification of these optional parameters is clarified below:
No parameters found for manualinvoices with filter optional.Request & Response Payload Samples
- Required Parameters Sample Payloads
- Optional Parameters Sample Payloads
The below sample request payload will show you how you can pass the above-mentioned required parameters, which are needed to be passed with valid values to perform a request. Along with the response payload received after using this request payload.
- Sample Request Payload
- Sample Response Payload
{
    "profile_id": **Your profile ID**,
    "tran_type": "sale",
    "tran_class": "ecom",
    "cart_description": "Description of the items/services",
    "cart_id": "Unique order reference00",
    "cart_amount": 100,
    "cart_currency": "SAR",
    "invoice": {
        "line_items": [
            {
                "unit_cost": 100,
                "quantity":2
            }
        ]
    }
}
{
    "invoice_id": 2072841,
    "invoice_link": "https://secure.paytabs.com/payment/request/invoice/2072841/A8C678206DB76382A"
}
The below sample request payload will show you how you can pass the above-mentioned optional parameters, which are needed to be passed with valid values to perform a request. Along with the response payload received after using this request payload.
- Sample Request Payload
- Sample Response Payload
{
    "profile_id": **Your profile ID**,
    "tran_type": "sale",
    "tran_class": "ecom",
    "cart_description": "Description of the items/services",
    "cart_id": "Unique order reference00",
    "cart_amount": 9.5,
    "cart_currency": "SAR",
    "invoice": {
        "lang": "en",
        "shipping_charges": 0,
        "extra_charges": 0,
        "extra_discount": 0,
        "total": 0,
        "activation_date": "",
        "expiry_date": "2024-09-27T13:33:00+04:00",
        "line_items": [
            {
                "sku": "sku",
                "description": "desc",
                "url": "https://www.costacoffee.ae/whats-new/flat-white",
                "unit_cost": 9.5,
                "quantity": 1,
                "net_total": 9.5,
                "discount_rate": 0,
                "discount_amount": 0,
                "tax_rate": 0,
                "tax_total": 0,
                "total": 9.5
            },
        ]
    },
    "customer_details": {
        "name": "first last",
        "email": "[email protected]",
        "phone": "0522222222",
        "street1": "address street",
        "city": "dubai",
        "state": "du",
        "country": "AE",
        "zip": "12345"
    },
    "shipping_details": {
        "name": "name1 last1",
        "email": "[email protected]",
        "phone": "971555555555",
        "street1": "street2",
        "city": "dubai",
        "state": "dubai",
        "country": "AE",
        "zip": "54321"
    },
    "user_defined": {
        "test": "UDF1 Test",
        "test2": "UDF2 Test",
        "udf3": "UDF3 Test",
        "udf4": "UDF4 Test",
        "udf5": "UDF5 Test",
        "udf6": "UDF6 Test",
        "udf7": "UDF7 Test",
        "udf8": "UDF8 Test",
        "udf9": "UDF9 Test"
    },
    "callback": "{{callback_url}}",
    "return": "{{return_url}}"
}
{
    "invoice_id": 2072841,
    "invoice_link": "https://secure.paytabs.com/payment/request/invoice/2072841/A8CB6A868206DB76382A"
}
The Payment Page Experience
Reaching this point, you are now able to initiate an Invoice API request and as you now, the process involves several key steps that ensure a smooth payment and tracking experience for both you and customers. Here’s how it works:
-
Initiating the Request: Once you initiate a payment request, you will receive a response that includes a redirect URL. This URL is crucial for guiding your customer through the payment process.
"invoice_link": "https://secure.paytabs.com/payment/request/invoice/2072841/A8CB6A4667A444E79E868206DB76382A", -
Redirecting the Customer: You should redirect your customer to this URL as you normally would in a payment transaction. This step allows the customer to complete their payment securely and efficiently. Below are the resulted payment page that your customer will be redirected to:
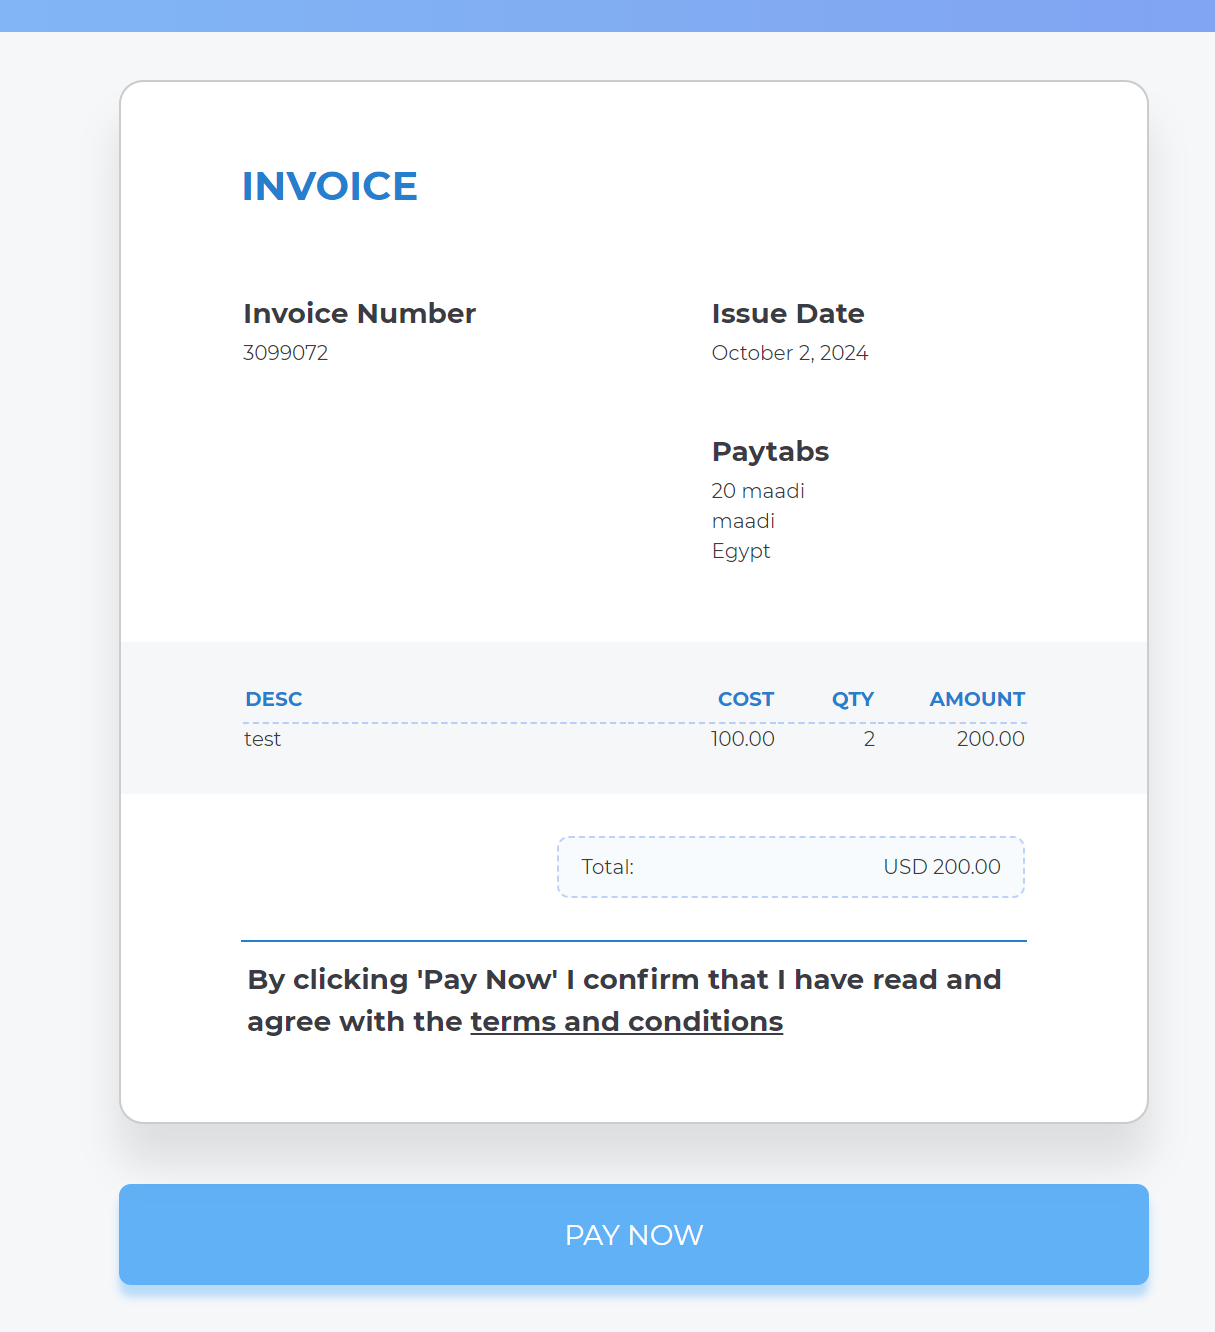
-
Tracking in the Merchant Dashboard: After the payment is completed, the transaction will be displayed in your Merchant Dashboard. You can view the details of it in the transaction view.
This process ensures that you have full visibility and control over your split payouts, from initiating the transaction to tracking its completion in the dashboard.
Initiating an Invoice via Payment Endpoint
Initiating an Invoice via Payment Endpoint
Here, we will walk you through the process of creating invoices efficiently using the Payment Endpoint. This endpoint offers a streamlined way to initiate invoices directly through your payment processing system. By leveraging this endpoint, businesses can automate the invoicing process, ensuring timely and accurate billing. This guide will highlight key features and best practices to optimize your workflow.
The Endpoint and Related Postman Collection
In this section, we will rely on the PayTabs Invoice Payment Page API Endpoint, mentioned on PayTabs API endpoints postman collection, which you can access from PayTabs Postman APIs Collection. The endpoint will need to be accessed with a POST request on the below-mentioned URL
| POST | {{domain}}/payment/request |
|---|
Please note that not using the proper endpoint URL {domain} will lead to authentication issues within your responses. To find the your proper domain you can read ourWhat is my (Region)/(endpoint URL)?tutorial article.
- KSA
- UAE
- Egypt
- Oman
- Jordan
- Kuwait
- Iraq
- Morocco
- Qatar
- Global
https://secure.paytabs.sa/payment/request
https://secure.paytabs.com/payment/request
https://secure-egypt.paytabs.com/payment/request
https://secure-oman.paytabs.com/payment/request
https://secure-jordan.paytabs.com/payment/request
https://secure-kuwait.paytabs.com/payment/request
https://secure-iraq.paytabs.com/payment/request
https://secure-morocco.paytabs.com/payment/request
https://secure-doha.paytabs.com/payment/request
https://secure-global.paytabs.com/payment/request
Request Parameters
- The Minimum Required Parameters
- The Available Optional Parameters
To initiate a payment request using this integration type, there are minimum required parameters that need to be passed with valid information. The specification of these required parameters is clarified below:
No parameters found for manualinvoices with filter required.Besides the above-mentioned required parameters, PayTabs provides you with several optional parameters, each of which empowers you with a different feature and the ability to customize your invoice payment request as much as possible it could be. The specification of these optional parameters is clarified below:
No parameters found for manualinvoices with filter optional.Request & Response Payload Samples
- Required Parameters Sample Payloads
- Optional Parameters Sample Payloads
The below sample request payload will show you how you can pass the above-mentioned required parameters, which are needed to be passed with valid values to perform a request. Along with the response payload received after using this request payload.
- Sample Request Payload
- Sample Response Payload
{
    "profile_id": "987###",
    "tran_type": "sale",
    "tran_class": "ecom",
    "cart_id": "CART#1001",
    "cart_currency": "SAR",
    "cart_amount": 500,
    "cart_description": "Description of the items/services",
    "invoice": {
      "line_items": [
          {
              "unit_cost": 100,
              "quantity":5
          }
      ]
    }
}
{
    "tran_ref": "TST22********159",
    "tran_type": "Sale",
    "cart_id": "CART#1001",
    "cart_description": "Description of the items/services",
    "cart_currency": "SAR",
    "cart_amount": "500",
    "return": "none",
    "redirect_url": "https://secure.paytabs.com/payment/page/5994585B6B*************B481739688688",
    "invoice": {

       "line_items": [
           {
               "unit_cost": "100",
               "quantity": "5",

           }
       ]
   },
    "serviceId": 2,
    "profileId": 9*****4,
    "merchantId": 1*****7,
    "trace": "PMN****4.63****A8.00****C4"
}
The below sample request payload will show you how you can pass the above-mentioned optional parameters, which are needed to be passed with valid values to perform a request. Along with the response payload received after using this request payload.
- Sample Request Payload
- Sample Response Payload
{
   "profile_id": **Your profile ID**,
   "tran_type": "sale",
   "tran_class": "ecom",
   "cart_description": "Description of the items/services",
   "cart_id": "Unique order reference00",
   "cart_amount": 500,
   "cart_currency": "SAR",
   "paypage_lang": "en",
   "return":"** Valid Return URL **",
   "callback":"** Valid callback URL **",
   "customer_details": {
       "name": "FirstName LastName",
       "email": "[email protected]",
       "phone": "0522222222",
       "street1": "address street",
       "city": "cc",
       "state": "C",
       "country": "AE",
       "zip": "12345"
   },
   "shipping_details": {
       "name": "FirstName LastName",
       "email": "[email protected]",
       "phone": "971555555555",
       "street1": "street2",
       "city": "dubai",
       "state": "dubai",
       "country": "AE",
       "zip": "54321"
   },
   "invoice": {
       "id": 3128281,
       "shipping_charges": "0",
       "extra_charges": "0",
       "extra_discount": "0",
       "total": "500",
       "activation_date": 0,
       "expiry_date": 0,
       "due_date": 0,
       "issue_date": 1733496740,
       "line_items": [
           {
               "unit_cost": "100",
               "quantity": "5",
               "net_total": "500",
               "discount_rate": "0",
               "discount_amount": "0",
               "tax_rate": "0",
               "tax_total": "0",
               "total": "500"
           }
       ]
       },
   "user_defined": {
       "udf1": "UDF1 Test",
       "udf2": "UDF2 Test",
       "udf3": "UDF3 Test",
       "udf4": "UDF4 Test",
       "udf5": "UDF5 Test",
       "udf6": "UDF6 Test",
       "udf7": "UDF7 Test",
       "udf8": "UDF8 Test",
       "udf9": "UDF9 Test"
   },
}
{
    "tran_ref": "TST22********159",
    "tran_type": "Sale",
    "cart_id": "CART#1001",
    "cart_description": "Description of the items/services",
    "cart_currency": "SAR",
    "cart_amount": "500.00",
    "return":"** Valid Return URL **",
    "callback":"** Valid callback URL **",
    "redirect_url": "https://secure.paytabs.com/payment/page/599455B6B************B4817FD44688",
    "invoice": {
       "id": 3128281,
       "shipping_charges": "0",
       "extra_charges": "0",
       "extra_discount": "0",
       "total": "500",
       "activation_date": 0,
       "expiry_date": 0,
       "due_date": 0,
       "issue_date": 1733496740,
       "line_items": [
           {
               "unit_cost": "500",
               "quantity": "5",
               "net_total": "500",
               "discount_rate": "0",
               "discount_amount": "0",
               "tax_rate": "0",
               "tax_total": "0",
               "total": "500"
           }
       ]
   },
   "customer_details": {
       "name": "FirstName LastName",
       "email": "[email protected]",
       "phone": "0522222222",
       "street1": "address street",
       "city": "cc",
       "state": "C",
       "country": "AE",
       "zip": "12345"
   },
   "shipping_details": {
       "name": "FirstName LastName",
       "email": "[email protected]",
       "phone": "971555555555",
       "street1": "street2",
       "city": "dubai",
       "state": "dubai",
       "country": "AE",
       "zip": "54321"
   },
   "user_defined": {
       "test": "UDF1 Test",
       "test2": "UDF2 Test",
       "udf3": "UDF3 Test",
       "udf4": "UDF4 Test",
       "udf5": "UDF5 Test",
       "udf6": "UDF6 Test",
       "udf7": "UDF7 Test",
       "udf8": "UDF8 Test",
       "udf9": "UDF9 Test"
   },
    "serviceId": 2,
    "profileId": 9*****4,
    "merchantId": 1*****7,
    "trace": "PMN****4.63****A8.00****C4"
}
The Payment Page Experience
Reaching this point, you are now able to initiate an Invoice through the payment endpoint API request and as you now, the process involves several key steps that ensure a smooth payment and tracking experience for both you and customers. Here’s how it works:
-
Initiating the Request: Once you initiate a payment request, you will receive a response that includes a redirect URL. This URL is crucial for guiding your customer through the payment process.
"redirect_url": "https://secure.paytabs.com/payment/page/599458B182E5B6B********************B4817FD44318539688688", -
Redirecting the Customer: You should redirect your customer to this URL as you normally would in a payment transaction. This step allows the customer to complete their payment securely and efficiently. Below are the resulted payment page that your customer will be redirected to:
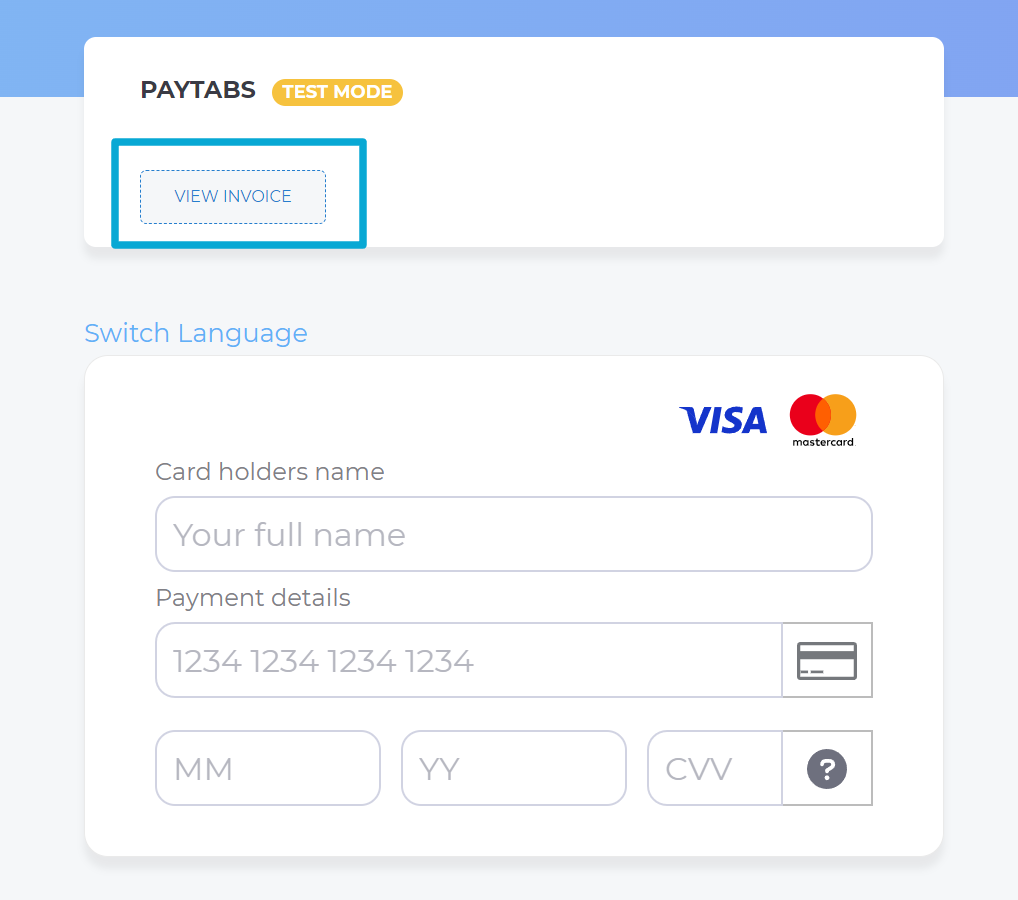
-
Tracking in the Merchant Dashboard: After the payment is completed, the transaction will be displayed in your Merchant Dashboard. You can view the details of it in the transaction view.
This process ensures that you have full visibility and control over your split payouts, from initiating the transaction to tracking its completion in the dashboard.