Initiate an iFramed/Embedded Payment Page
PayTabs provides you with the backend packages that make the integrating with PayTabs payment gateway very easy by providing ready-made classes that handle the payment process.
This article is dedicated to walking you through how to display the payment page within a frame/embedded look via this package. The following boolean value can be passed within the frameMode parameter.
Method Specification
| Description | Create the Payment Page. |
|---|---|
| Since | 1.0.0 |
| Required | ✔ |
| Signature | |
| Sample | |
Method Parameters:
FrameMode
| Name | frameMode |
|---|---|
| Type | Boolean |
| Description | The ninth parameter to the createPaymentPage> function, which set the Famed Mode status. |
| Default | false |
| Required | ✘ |
| Example | |
Expected payment flow behaviour:
- As a merchant you would initiate a payment request per the above Specifications, which include a sample code.
- Then, after generating the payment page use the result to redirect the customer to the payment page.
function callbackMethod(result) {
//failed to create the payment page.
if (result['response_code:'] === 400) {
// get the message
console.log(result['result']);
// Next step
}
//success to create the payment page.
else {
//On success, redirect the customer to complete the payment.
console.log(result.redirect_url);
// Next step
};
}
PayTabs.createPaymentPage(
    paymentMethods,
    transaction_details,
    cart_details,
    customer_details,
    shipping_address,
    response_URLs,
    lang,
    callbackMethod,
    frameMode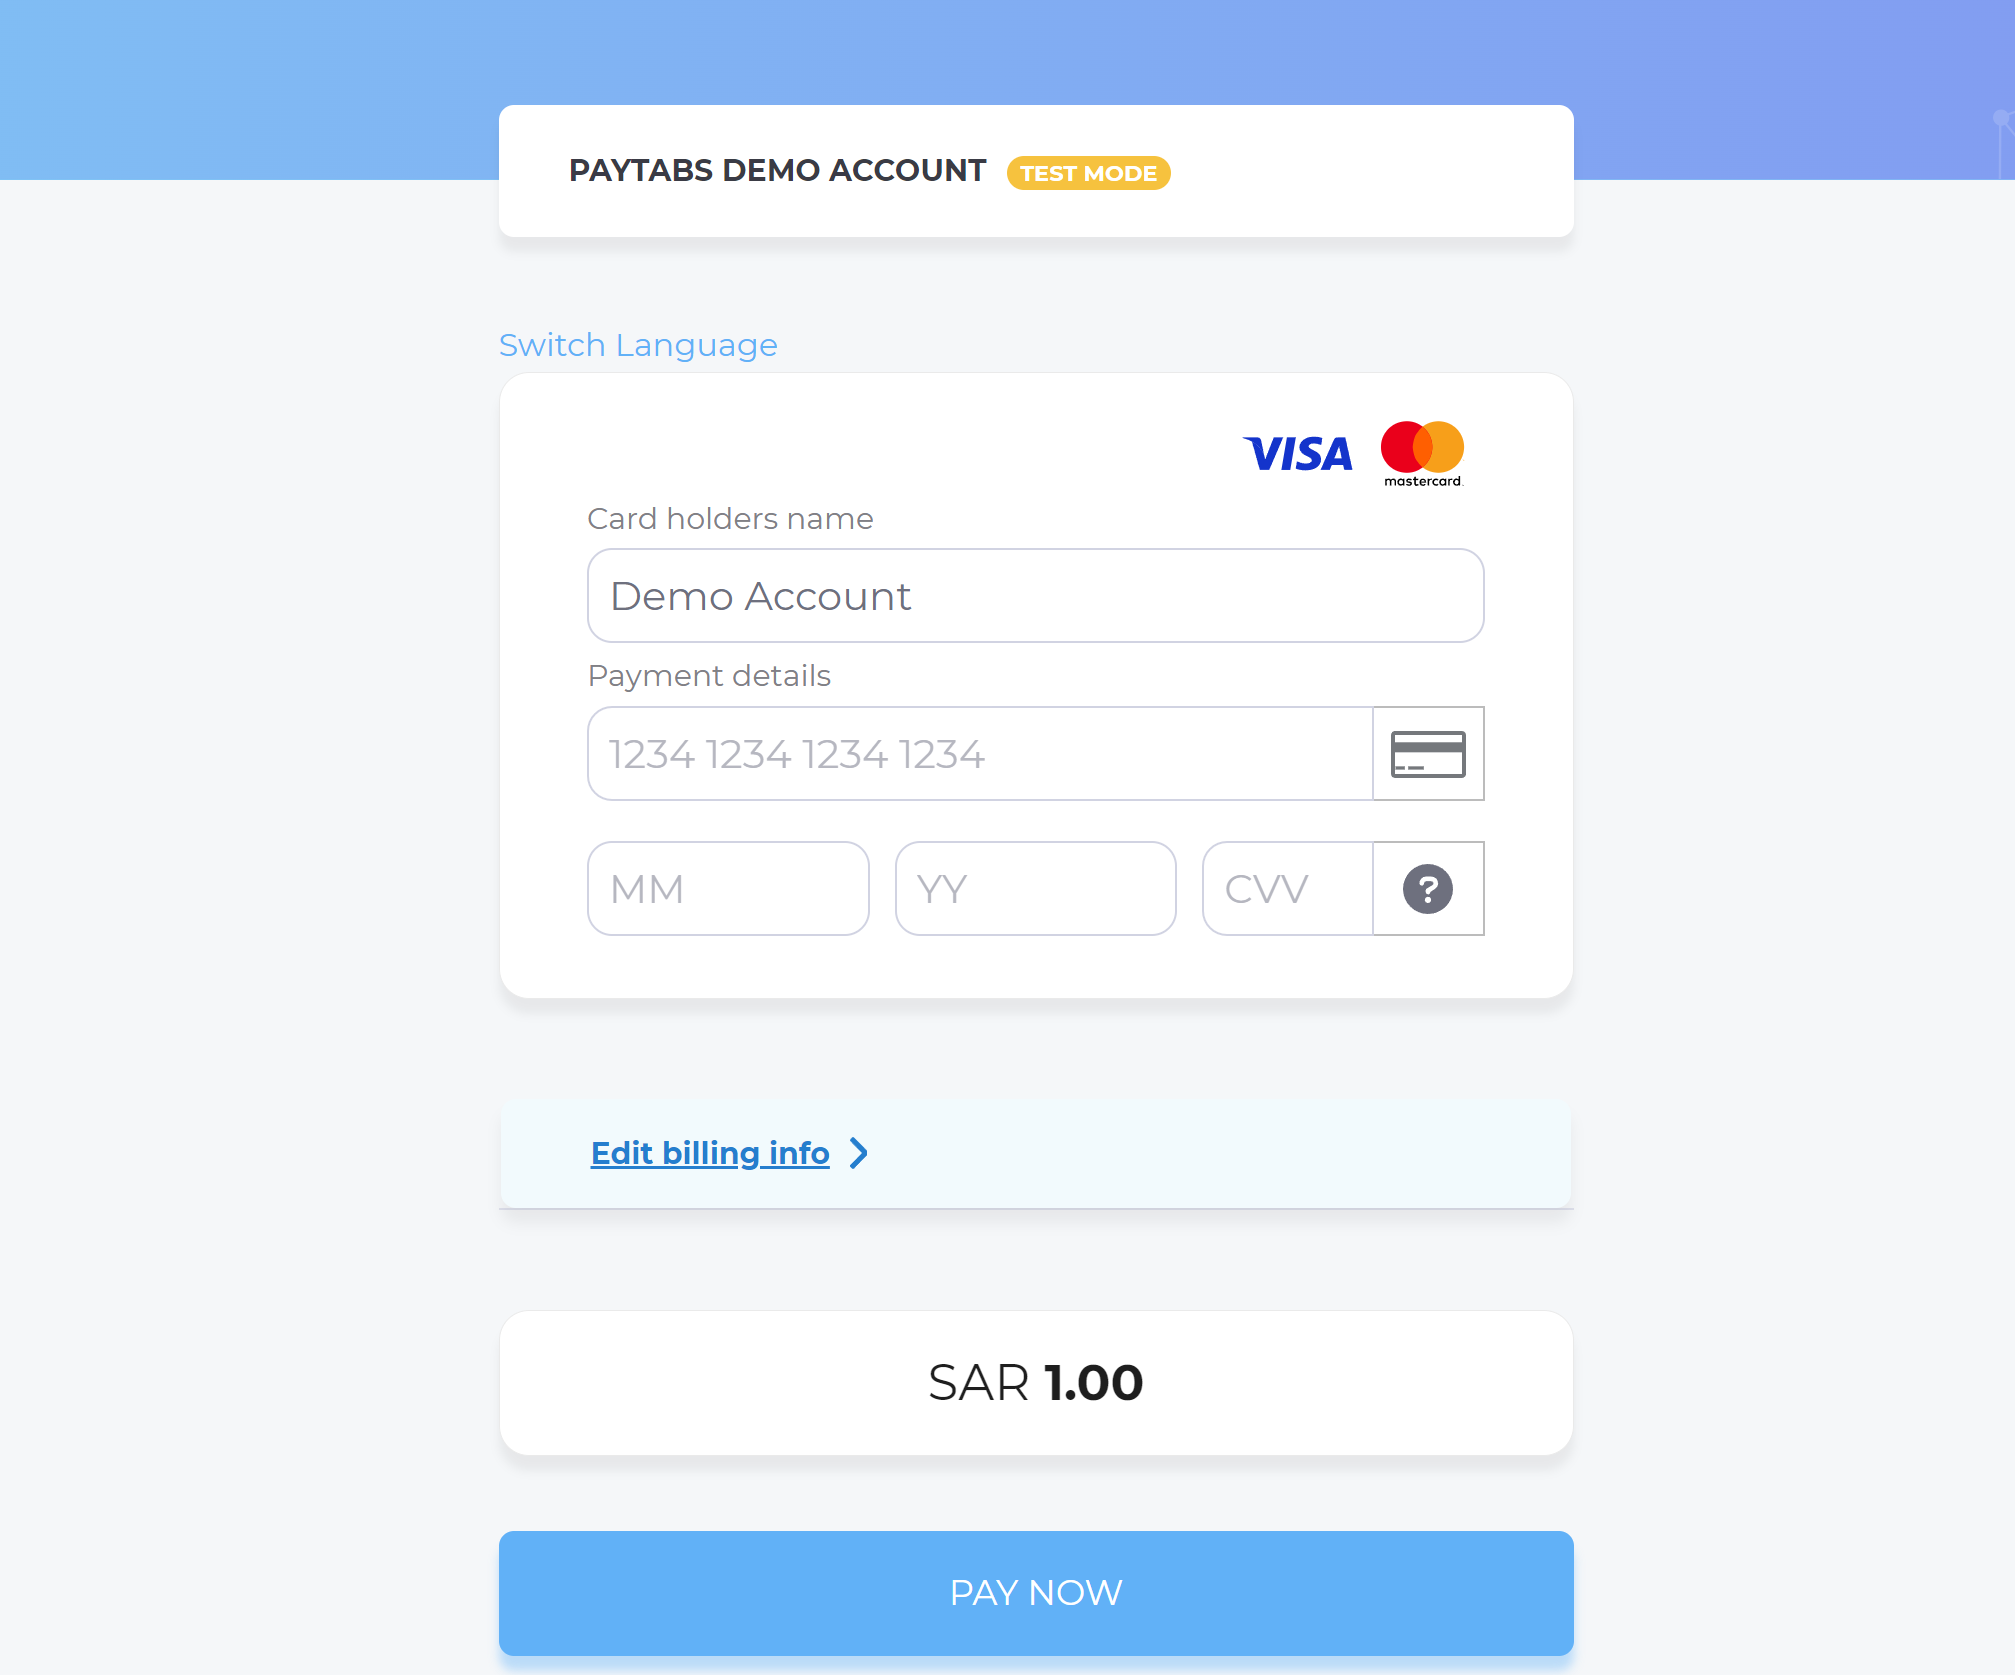
); - After this, your customer would proceed normally with payment by choosing the preferred payment method (if available), and providing his card information.
- Then, he will be redirected to his issuer bank 3DS/OTP page to authenticate the used card
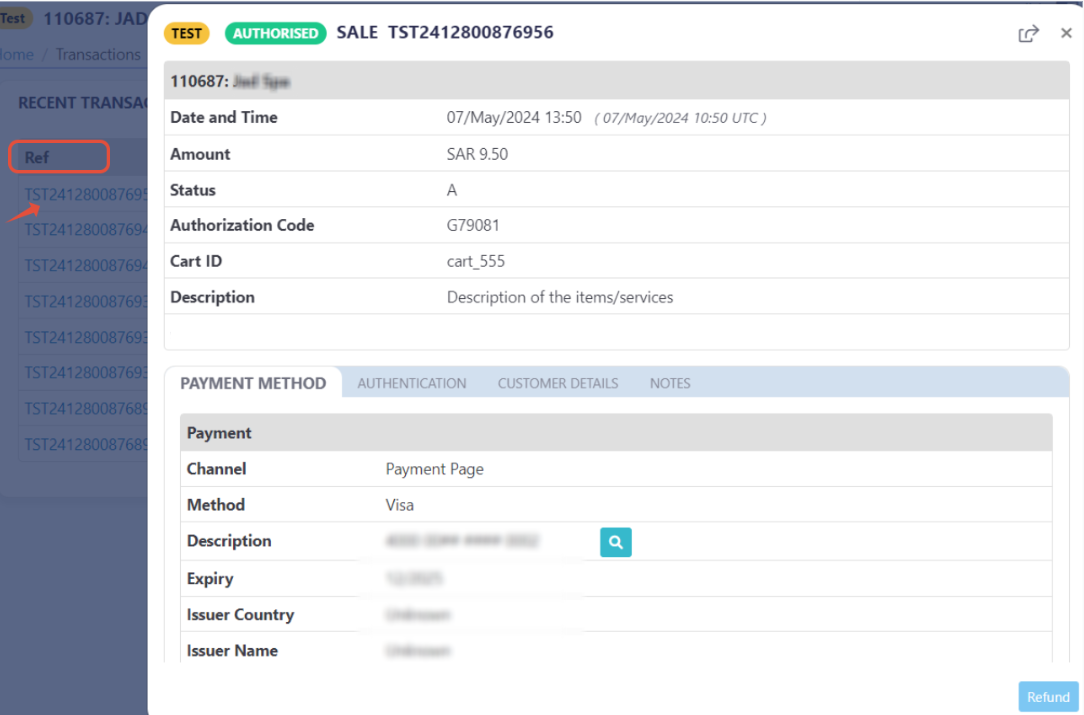
- Finally, he would be redirect to a success/error page accordingly. By this time, you will be able to see his transaction on your merchant dashboard, whether it's accepted/authorized or not.