Manage the Payment Page Display Language
PayTabs provides you with the backend packages that make the integrating with PayTabs payment gateway very easy by providing ready-made classes that handle the payment process.
This article is dedicated to walking you through how to manage what is the payment page display language. The following string values can be passed within the "lang" parameter, which is passed as the seventh parameter to the createPaymentPage function, as shown below:
enar
Method Specification
| Description | Create the Payment Page. |
|---|---|
| Since | 1.0.0 |
| Required | ✔ |
| Signature | |
| Sample | |
Method Parameters:
Lang
| Name | lang | ||||
|---|---|---|---|---|---|
| Type | enum | ||||
| Enum values |
| ||||
| Description | The seventh parameter to the "createPaymentPage" function, to set the language code | ||||
| Default | - | ||||
| Validation Rule | Accepts | ||||
| Required | ✘ | ||||
| Example | |
Expected payment flow behaviour:
- As a merchant you would initiate a payment request per the above Specifications, which include a sample code.
- Then, after generating the payment page use the result to redirect the customer to the payment page.
function callbackMethod(result) {
//failed to create the payment page.
if (result['response_code:'] === 400) {
// get the message
console.log(result['result']);
// Next step
}
//success to create the payment page.
else {
//On success, redirect the customer to complete the payment.
console.log(result.redirect_url);
// Next step
};
}
PayTabs.createPaymentPage(
    paymentMethods,
    transaction_details,
    cart_details,
    customer_details,
    shipping_address,
    response_URLs,
    lang,
    callbackMethod,
    frameMode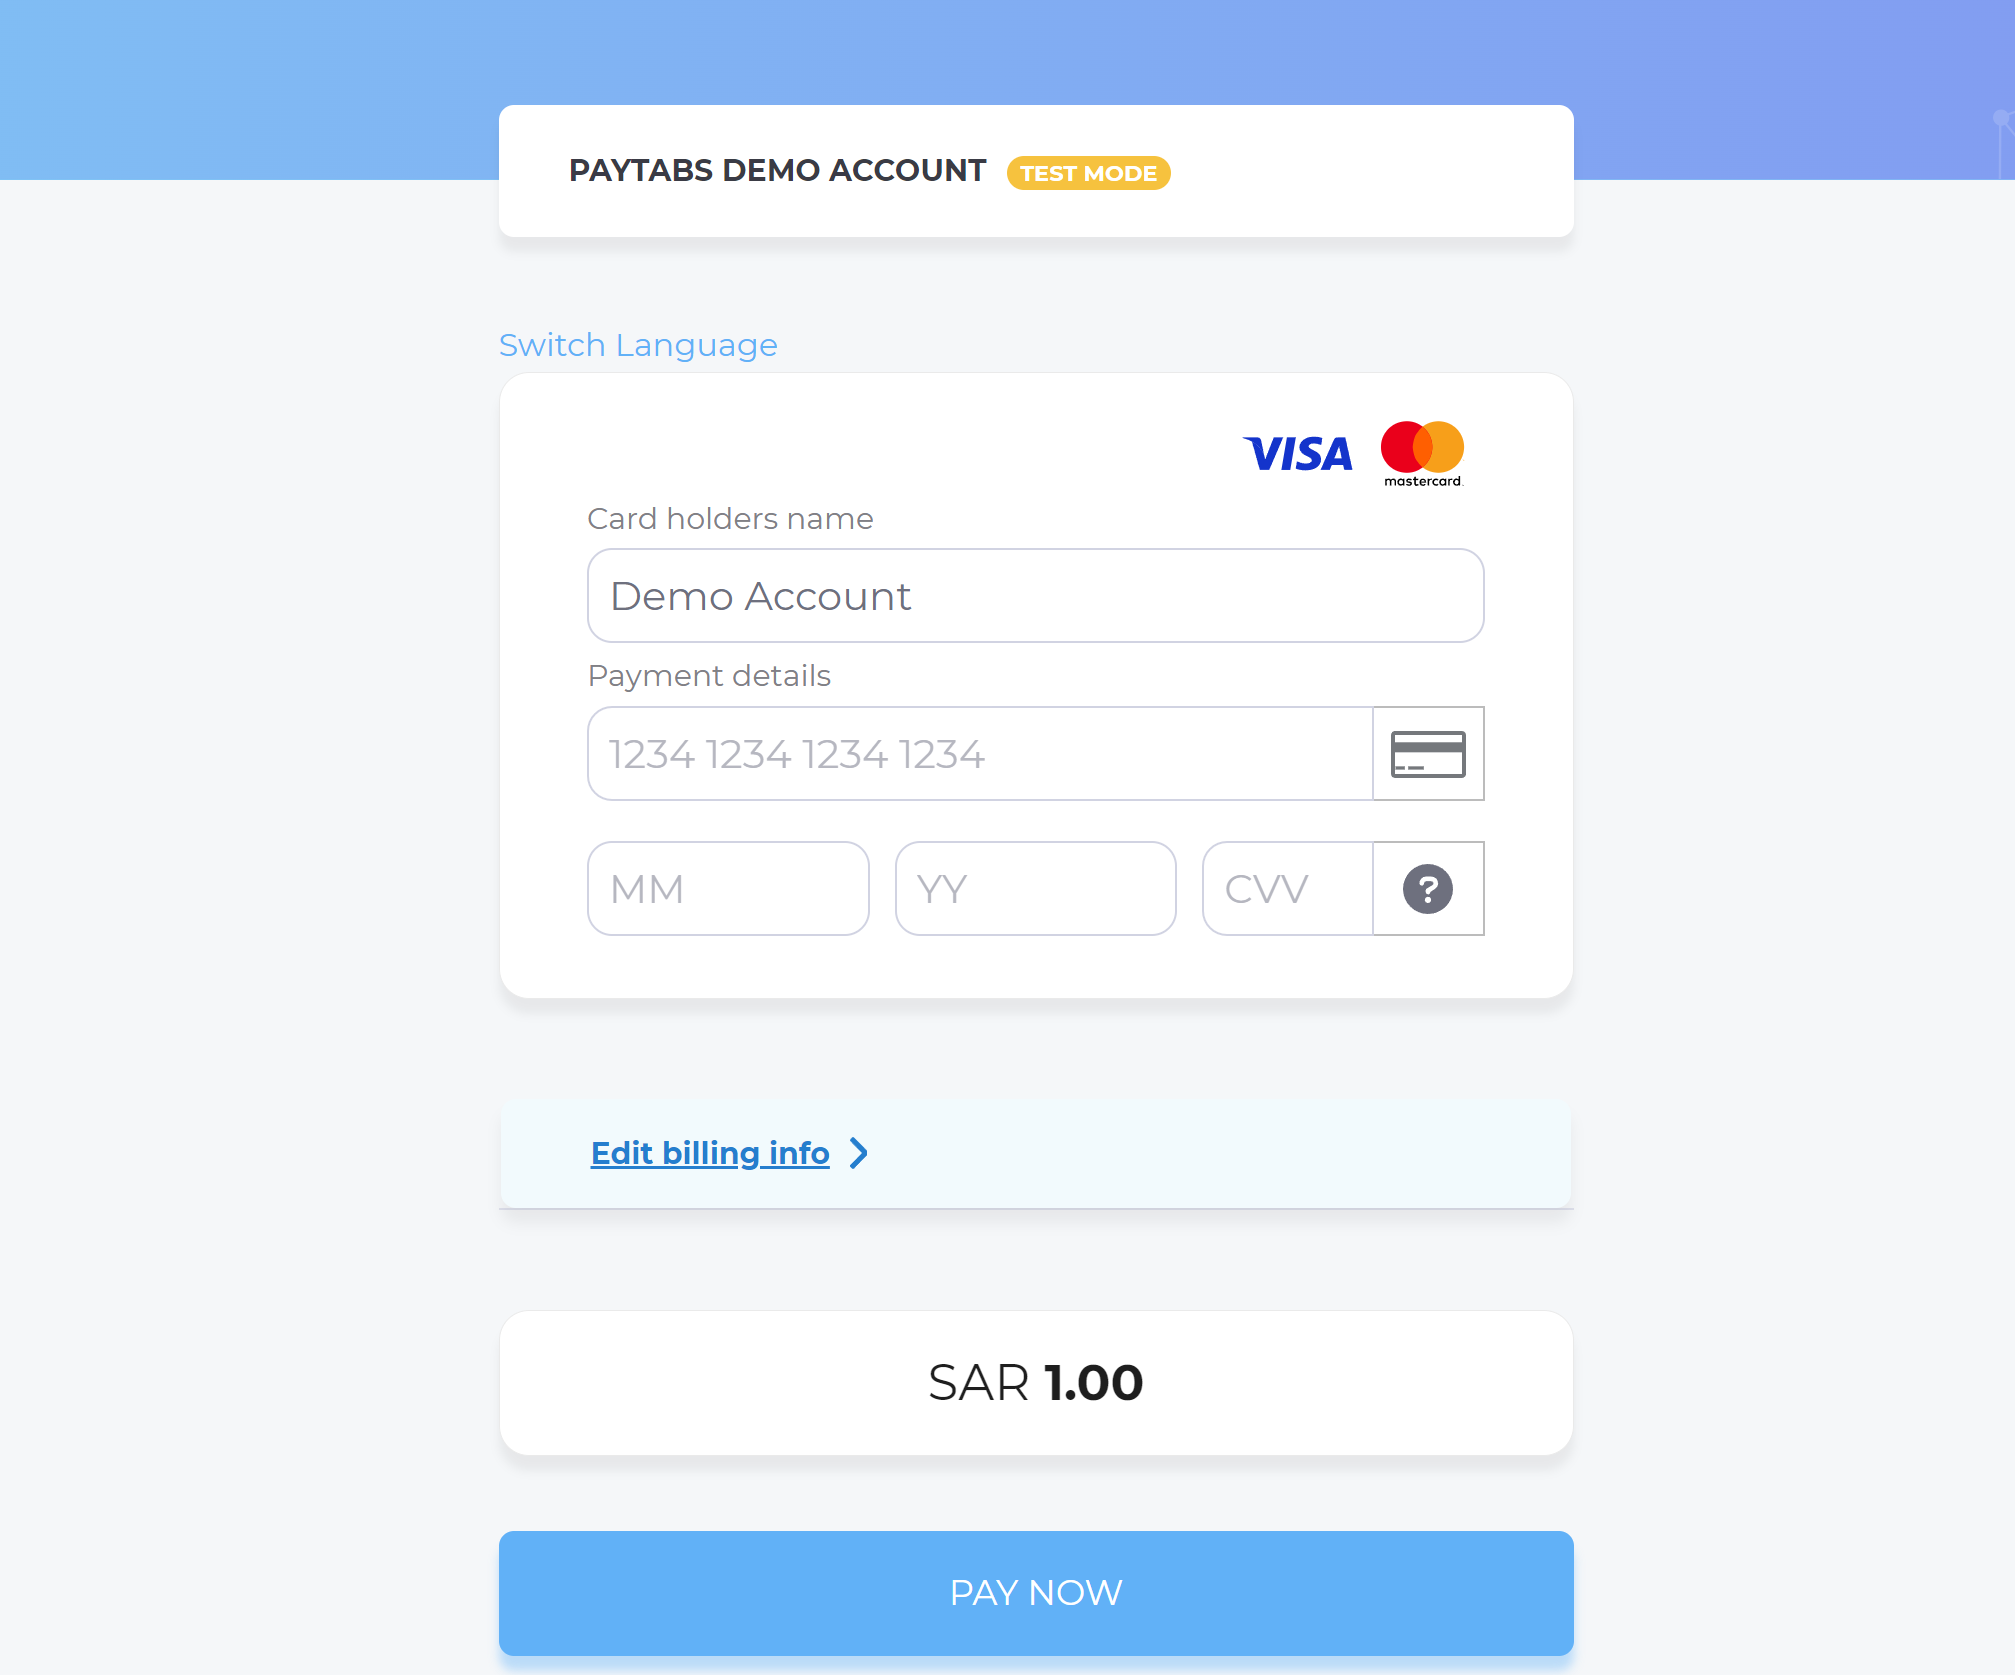
); - After this, your customer would proceed normally with payment by choosing the preferred payment method (if available), and providing his card information.
- Then, he will be redirected to his issuer bank 3DS/OTP page to authenticate the used card
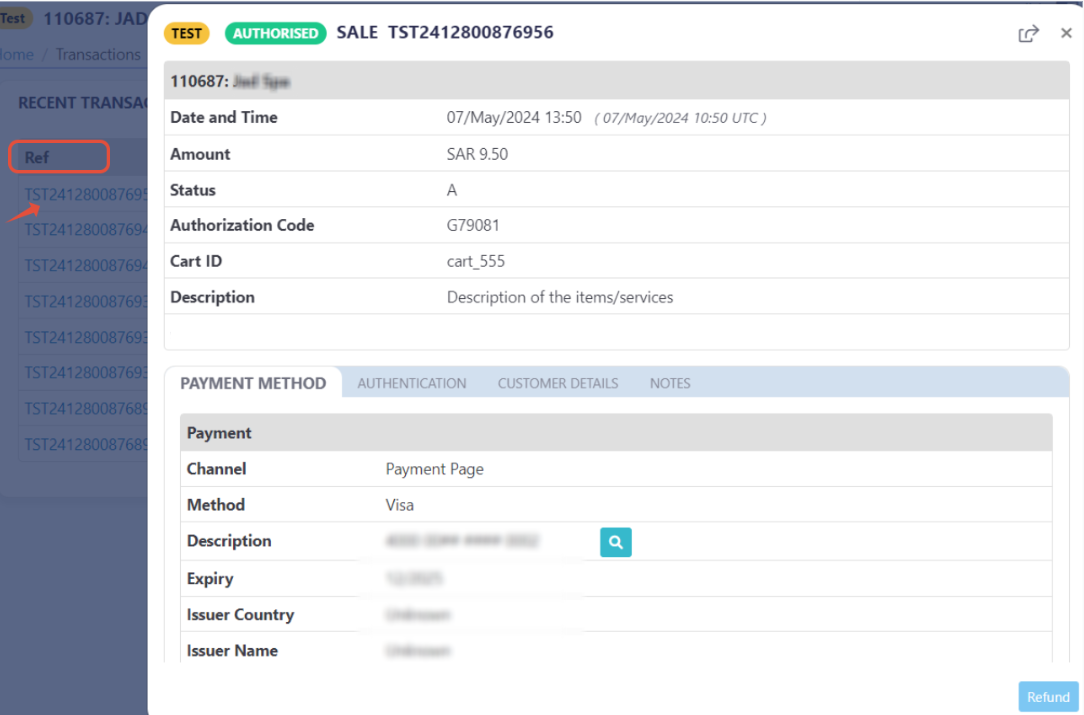
- Finally, he would be redirect to a success/error page accordingly. By this time, you will be able to see his transaction on your merchant dashboard, whether it's accepted/authorized or not.